
How to Laminate Paper with Machine
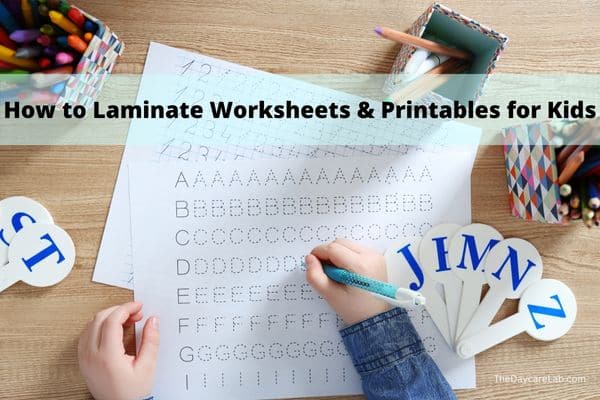
More often than not, I laminate my printables. It makes them durable, and I can reuse them.
Everyone always asks me, “which is the best laminating machine?”
I’m sure there are many good ones on the market, but this one is the one I use. Well, the one I have is an older model, and after all these years, it’s still working perfectly.

I like these Scotch Thermal Laminating Pouches, the pack comes with 100 pouches and if you see them priced under $16, I recommend you snatch them up quickly.
Another pack of laminating pouches you might want to consider are the ones here by Amazon. They are also a good choice.
Okay, now that we got that out of the way. Let me tell you how easy it is to laminate your printables!
After you download and print out your printable, put it inside a laminating pouch.
Make sure the printable is in the center with enough laminate margin around it so it will seal properly.
Turn on your laminating machine, and when it’s ready to go, insert it into your machine.
Then let the laminator do it’s thing!
What did I tell you? Laminating your printables is very easy!
How to Laminate Small Pieces of Paper
Okay, but now you’re probably asking, “What about laminating small pieces of paper?”
If your printables need cutting, you can always cut the pieces after it’s laminated.
You can use scissors or invest in a paper cutter like the one here.
But for maximum durability and a better seal, it’s best to cut the printable first and then laminate the pieces of paper. The only downside is that it can be time-consuming, and some of the pieces will move around in the laminating pouch.

If you decide to cut the pieces before laminating them, here’s a quick tip: use a glue stick to glue and secure the small pieces of paper inside the laminating pouch.
Then pass it through your laminating machine.
How to Laminate Paper at Home Without a Machine?
How to Laminate Paper with Tape?
If you currently do not own or want a laminating machine you can laminate your paper pieces with clear packaging tape. You can get a roll of packaging tape from the dollar store, Walmart, etc.

All you do is cover the piece of paper with tape on both sides and cut any excess tape from the edges, if you like.
Using tape is an effective and budget friendly way to start making your printable pieces durable and reusable.
However, it can be time consuming.
Also, you can put some of the full size paper printables inside of sheet protectors and only laminate the smaller pieces with tape.
How to Laminate Paper with an Iron?
Another option for laminating paper at home is by using laminating pouches and sealing them with an iron.

All you do is set your iron on the cotton setting.
Grab a cotton pillow case.
Place your printable inside of a laminating pouch.
Then put the laminating pouch under the pillow case.
Press the iron down over the area where the pouch is and move the iron back and forth.
After about 30 seconds, flip the laminate sheet and iron the other side.
Examine the laminate to make sure it is completely sealed. If not, keep pressing down and iron it a little more.
How to Laminate Paper at Home
As you see, there are many ways to laminate your printables at home. You can purchase the necessary equipment, use packaging tape or an iron.
Use whichever method works best for you!
Leave a Reply